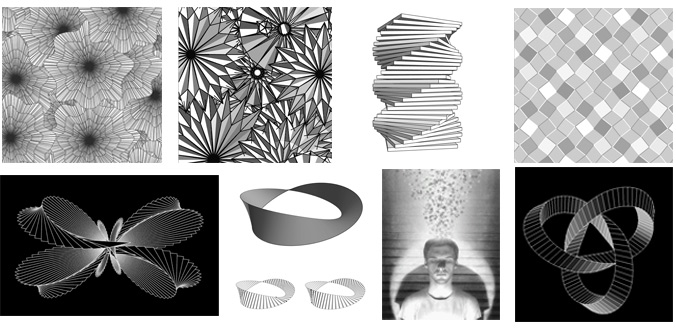
You’ve probably seen animated images like the ones above. They were widely used in the olden days of the web, and grew to have the same connotation as Comic Sans. Not exactly considered high end in the design world but these short animations are making a comeback, and designers are using them in new and more sophisticated ways.
Check out this artist, who uses “mathematica” to create some pretty mind-boggling animated GIFs. http://intothecontinuum.tumblr.com/

What’s so great about animated GIFs?
GIFs are incredibly web friendly. First, GIFs maintain transparency, so you can put them on the background of your webpage without having to change your page’s colors to mesh with the .GIF. Second, GIFs are also interlaced files, which means no long, ugly loading times on web pages, not to mention image quality is never lost on a .GIF when it’s compressed.
Last but not least, GIFs are just plain fun. We know a constant looping animation can get mildly annoying, but used sparingly and with style, GIFs are a sure fire way to add some pizzazz to your webpage.
We’ve seen Kate Spade bags dance from side to side, and add a little holiday glitter to their page, which draws the eye to it, but in a totally charming way.
What does GIF stand for?
There are a couple of different definitions for the acronym “GIF”, sometimes used interchangeably – Graphics Interchange Format, Graphic Image File, Group Interchange Format or Giant Interchange Format.
Want to make your own animated GIFs?
Never fear! It can be pretty simple, depending on what you want to do.
First off, you’ll need Photoshop. You can’t do this in Word, sorry. We’ll be using Photoshop CS6 for this tutorial; the directions for other versions of Photoshop may be slightly different.
To make a GIF from an existing video clip:
1.) Open Photoshop, go to File, then Import and select “Video Frames to Layers”.
2.) Import your video clip, select the range. (For instance, the video clip above starts at 00:57 and ends at roughly 01:01). Photoshop can only import 500 frames at a time, so make sure you select a short clip or select your range carefully. This four-second clip is 60 Layers in Photoshop.
3.) Once you’ve imported all the layers, just go to File, Save for Web and save your file as a .GIF.
But wait! That’s great, but I want to make my OWN animations, not just rip them from a video.
Oh. Well, that is going to take a little more work.
What you need to understand about GIFs is that making them in Photoshop asks that you turn your layers into frames of animation. Remember those animated flip books? Imagine each layer as a picture in that flip book. The more frames you have, the smoother your animation.
Here’s how we made this GIF:
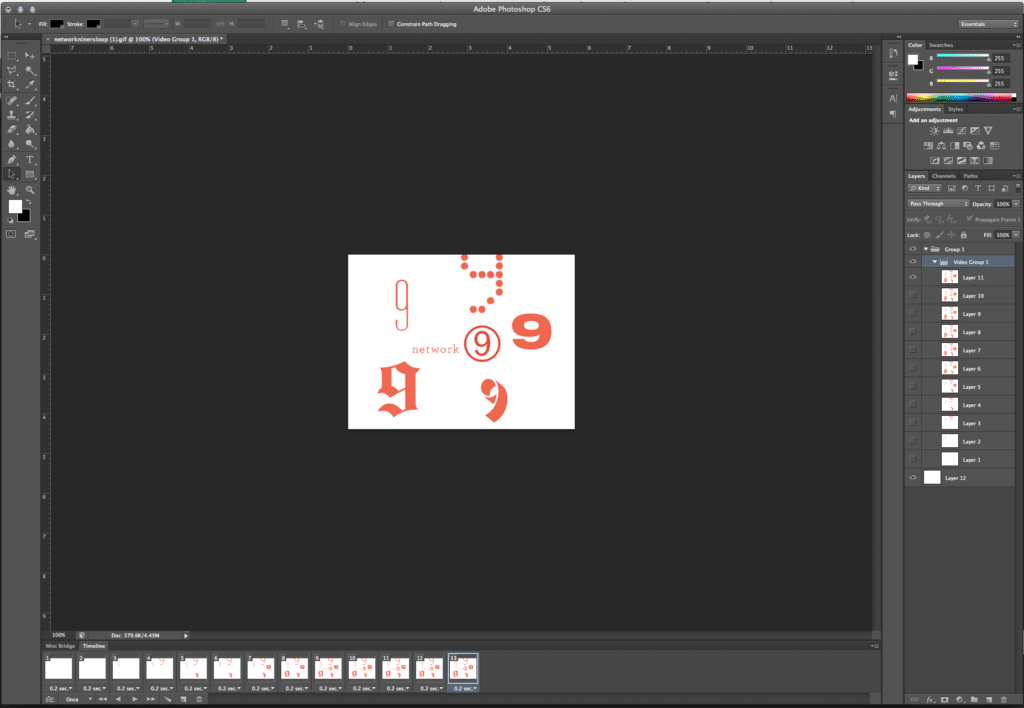
1.) Create individual animation frames as layers.
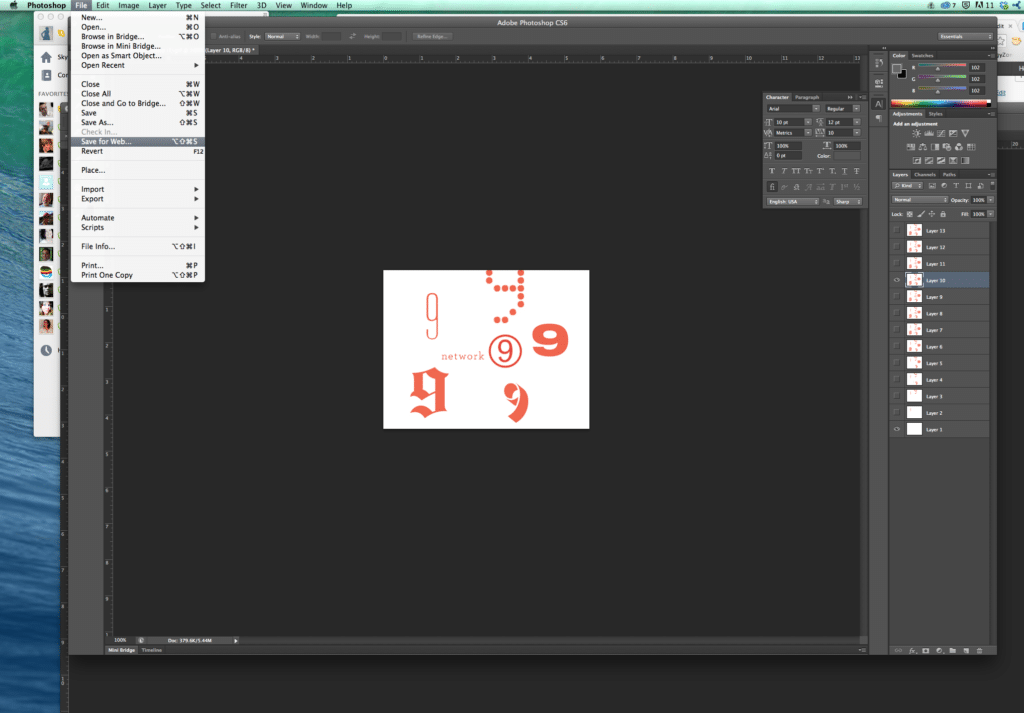
This animation has thirteen layers, each with a slightly different picture. See in this screenshot how each picture has a different number of nines on it? If you want to make an animation of a man shaking his head, you’d have to create one frame of the man’s head on the left, one on the right, and any frames in the middle that show his head passing through that space. It’s basic animation logic.
2.) Go to “Window” -> “Timeline”. (It looks like this).
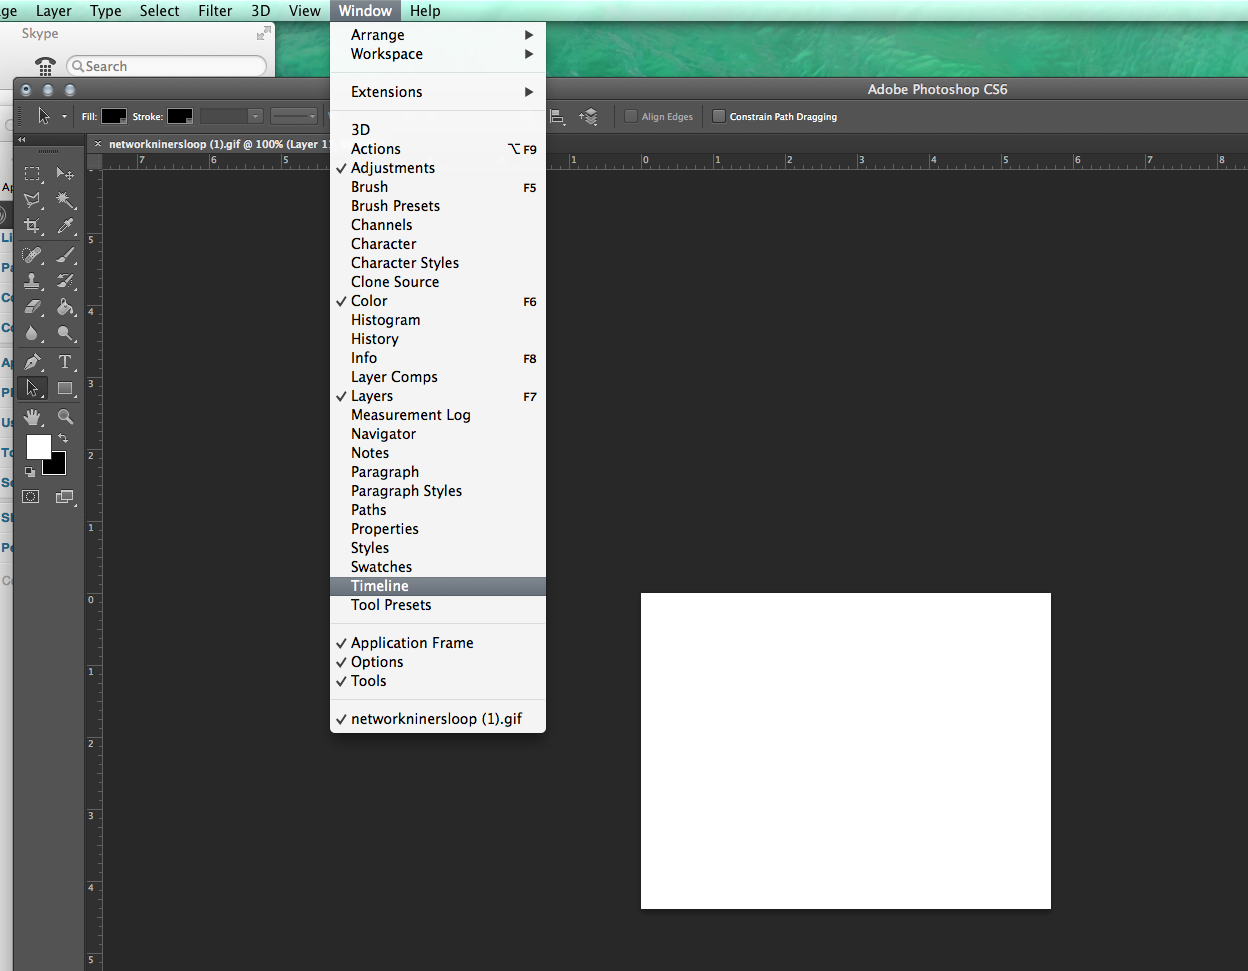
 And at the bottom appears your timeline.
3.) Look at the bottom left-hand corner of the screen. There should be an icon of three tiny boxes. Click that and select “continue” when Photoshop asks if you’d like to turn this into a frame animation.
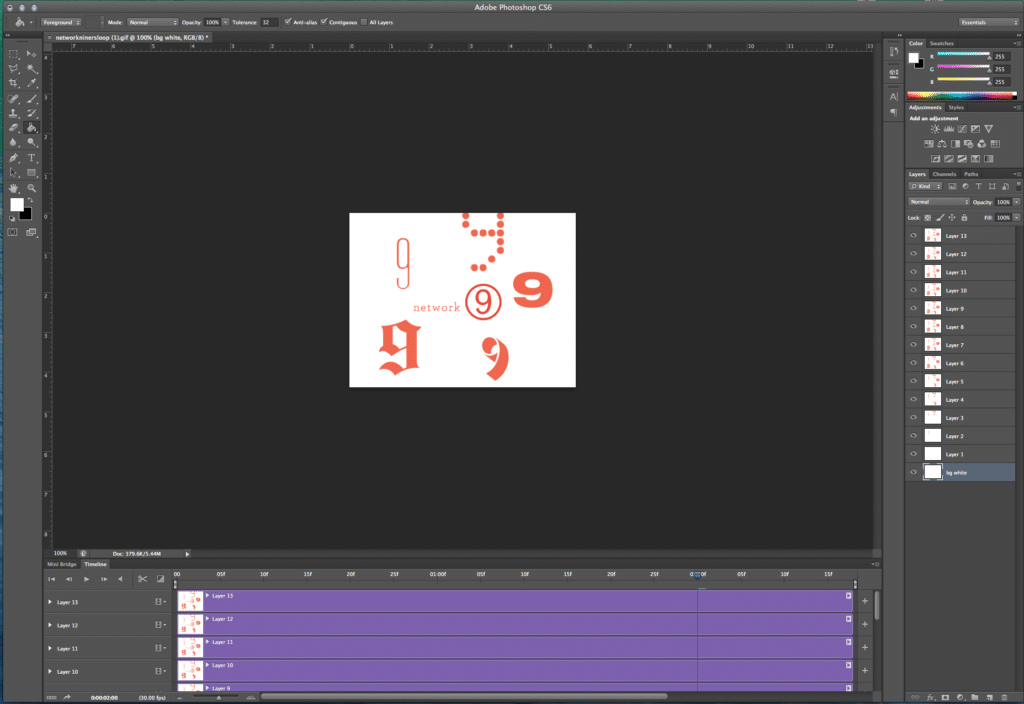
4.) Select the frame rate of your animation.
Those little drop-down menus under each frame display how long that frame will appear in your GIF animation. Select all the frames and set the frame rate for an even animation like the one above, or fiddle with the timing to create a perfect custom gif.
5.) Save your GIF. Go to “Save –> Save for Web.”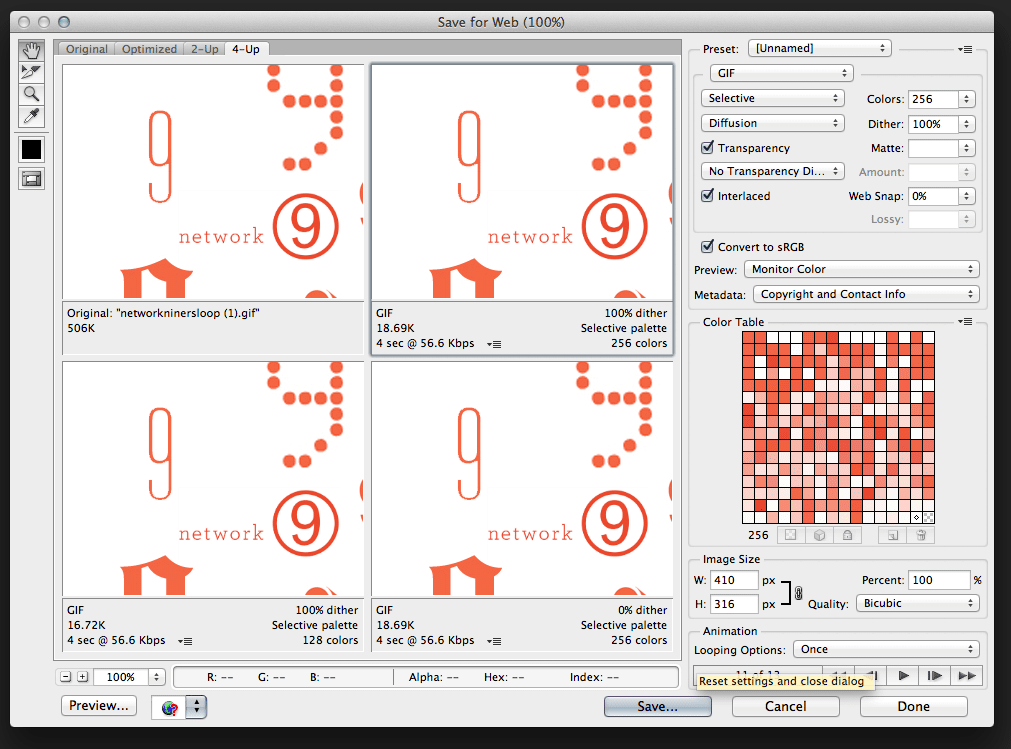 This will be what comes up. There are a lot of advanced features here, but for our purposes, all you need do is make your settings match these and decide whether you want your animation to loop once, twice, three times or infinitely. (Do that under the Animation menu at the bottom of the screen.)
You can Preview your animated GIFs in a browser by clicking the preview button on the bottom left corner. When you’re happy, click “save”. And that’s it: you’ve made your own GIF!
Daunting, but not impossible. Practice makes perfect. Fiddle around with settings, animations and frame rates and soon you’ll be on your way to making perfect GIFS.
Animated GIFs are fun to make and fun to look at. Need more help? Like us on Facebook or tweet us for more tips and tricks on using GIFs.
So, help the Gif comeback initiative and make it your own!